Applying the 500 rule
Feeling encouraged from Saturday, I did some research on Sunday into how to improve the images by reducing (or avoiding) the trailing, and how to do stacking and processing. I found that I should apply the ‘“500 rule”’ (which meant use 0.3sec exposure time), take a hundred or so images, and then stack them in astrophotography software. Lastly I would need to do some basic processing to the images to “adjust the curves” and bring out the colours more and reduce the noise. Lots to learn then!
The 500 rule is: max shutter speed = effective focal length / 500.
I have a Canon R7 with a 1.6x crop factor, so my effective focal length (using a Skywatcher 200P/1000) is: 1.6*1000 = 1600.
500 / 1600 = 0.3125 seconds.
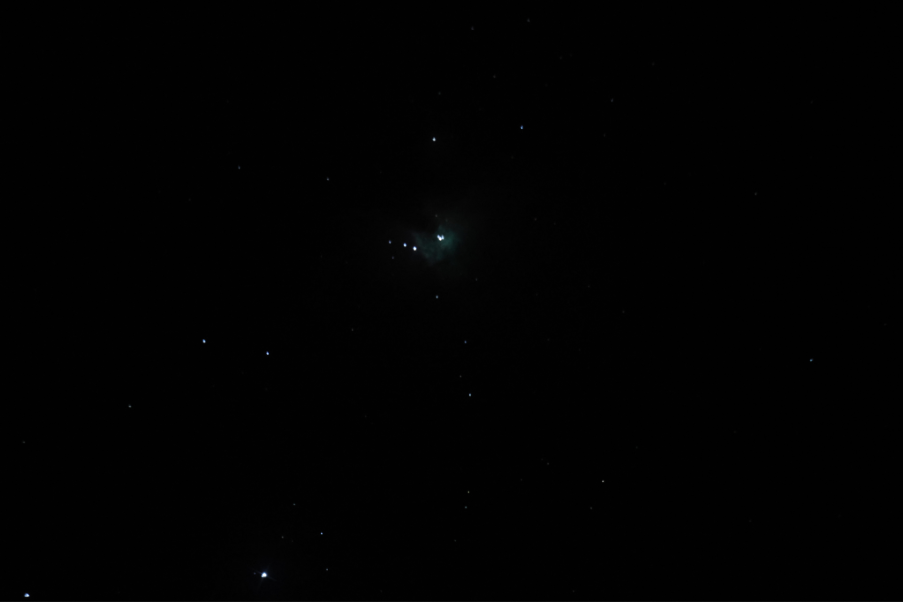
Equipped with this knowledge, I lined up the scope on the nebula, and swapped in the camera. It was a little misty, so the stars were not quite as clear as last week, especially through the optics, but I was able to focus using a high exposure and ISO setting. I then reduced the settings back down to 0.3 and ISO 6400 and took 160+ shots. I did this using HDR+ mode (for faster shooting) and holding down the shoot button on the Canon Connect app so I could avoid touching the camera and introducing wobble.
My phone screen kept locking and in so doing, causing Canon Connect to disconnect, and by the time I got it all back connected everything needed realigning. Increasing the delay on the lock screen to 5 mins was probably my biggest learning tonight!
The single images at ⅓ sec exposure were underwhelming, but with some basic processing came out looking pretty great (for a beginner!). When I was first out, I also took another batch of 150+ shots using ¼ sec exposures incase there was wobble in the first set, but didn’t end up processing them.
There are a lot of YouTube videos on how to stack and/or process your images, and I found most to either skip some steps or following them returned errors for me. My goal was to figure out how to “simply” stack the images into one, and then how to balance the contrast/ brightness / colours to bring out the nebula. In the end I found this video which made using Siril simple and effective: Basic astro image stacking and processing with Siril
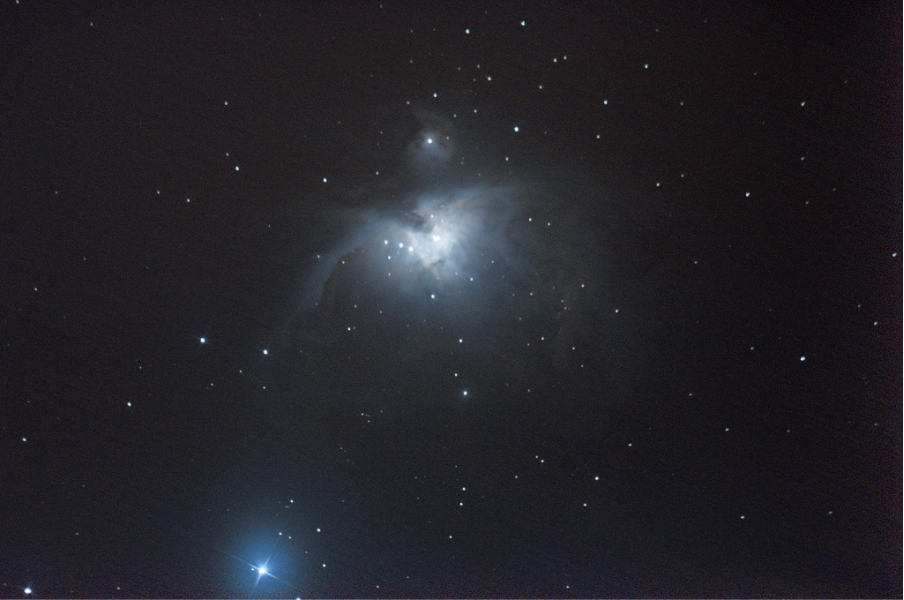
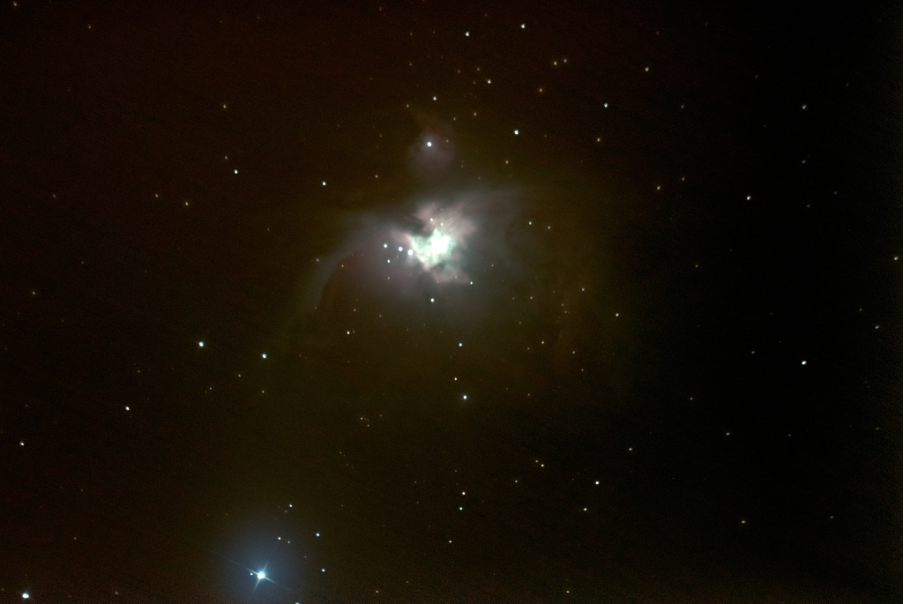
I initially used Siril to do the stacking, and then tried processing the stacked image separately in Siril and Photoshop. I got more depth of colour in Photoshop, but I personally preferred the cleaner, more ethereal feel of the Siril edit. I definitely have a huge way to go, I feel I’m starting to understand the process now, and it’s really encouraging to have achieved these pictures, especially without use of a tracker.
-END-